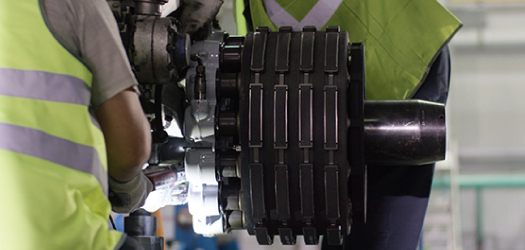
Easa Part 145 Approved Mro | Non-destructive Testing D1 | Wheels And Brakes
Non-destructive testing (NDT) is a wide group of inspection methods used to analyse the soundness of a material, component, or structure without physically or chemically damaging it. Such tests are performed by certified technicians either in the laboratory or in the field.
We offer testing capabilities on aircraft structures, components and engines and on-wing and can provide workshop support 24/7 with highly trained and certified inspectors.
Our services include:
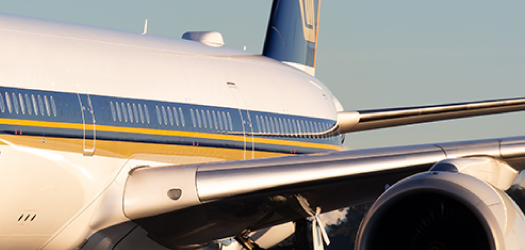
This method is used to reveal surface breaking flaws by bleed out of a coloured or fluorescent dye from the flaw and can be used on almost any non-porous material. It is based on the ability of a liquid to be drawn into a clean surface-braking flaw by capillary action. Excess surface penetrant is removed and a developer applied. The presence of a flaw is then revealed using an ultraviolet light in darkened conditions.
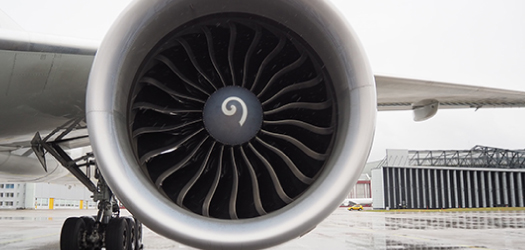
This method is used to detect cracks or surface or near surface flaws in ferrous materials such as carbon steel and iron. Specifically it can be used to test aircraft components such as landing gear, locomotive parts, bolts, nuts, springs, threaded bar, brackets and various crank/cam shafts, and all areas of ferrous materials prone to cracking or surface breaks. The material is magnetised and if there is a surface-breaking flaw, the magnetic field is distorted, as evidenced by local magnetic flux leakage around the flawed particles on the surface.
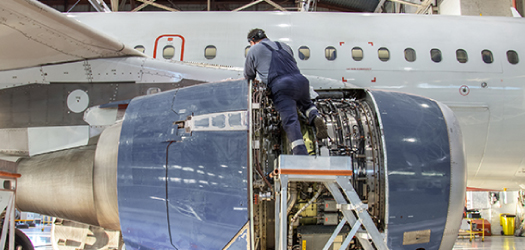
Eddy current uses electromagnetic induction to detect defects and flaws in electrically conductive materials. The method detects surface and near surface breaking and flaws and can be applied to coated surfaces with minimal to no preparation required. It can be carried out both at high and low frequencies and is useful for detecting cracks in difficult geometrical features like fasteners and rivet holes. Primarily used to detect very small cracks and corrosion pits, it is also effective in conductivity testing and for measuring material and coating thickness. It is a versatile testing method that gives instant results.

Ultrasonic Testing uses sound waves of short wavelength and high frequency to detect flaws or to measure material thickness. It can be used on castings, forgings, welds, tubes, pipes, wrought products, and composite materials.
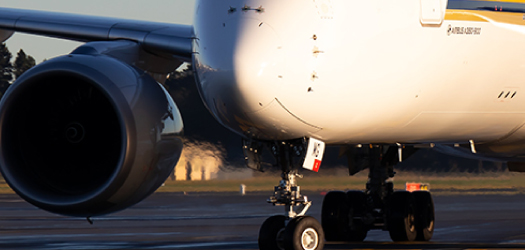
This method works through the generation of an ultrasonic beam and is highly effective when inspecting components with complex geometrical parameters. Furthermore, this beam can be multiplexed over a large array. Ultrasonic Phased Array technology has become the established method for advanced NDT testing applications. Phased Array techniques allow the user to control parameters such as beam angle and focal distance to create an image of the test part, enhancing defect detection and speed of testing. In addition, using the latest computer technology, data can be permanently recorded for processing and report generation.
Phased arrays offer significant advantages for weld testing and corrosion monitoring. Ultrasonic phased array applications are commonplace in many industrial areas, with the benefit being the capability of storing a full record of inspection. A-Scan, B-Scan, C-Scan and S-Scan visual displays provide a simple way of understanding the type of flaw and its dimensions. The multi-disciplined professional workforce are trained and qualified to international standards in accordance with BS EN 473:2008 and ISO 9712:2005. The culture of continuous training, including regular refresher training, ensures that every employee is capable of working to the highest standards with the latest technology in the most demanding of circumstances. Phased array can also be used in combination with the TOFD technique to provide the ultimate volumetric weld inspection.
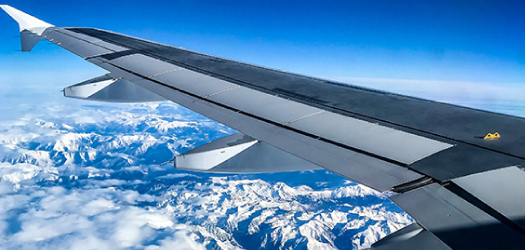
Thermographic inspection uses infrared imaging to detect flaws in a variety of structures. It can be used over a large area, without the need for direct contact with the component, and can detect a range of defects, including voids, moisture ingress, delaminations, corrosion, disbonds, porosity, crack propagation, impact damage, diffusivity and systematic wall thinning.
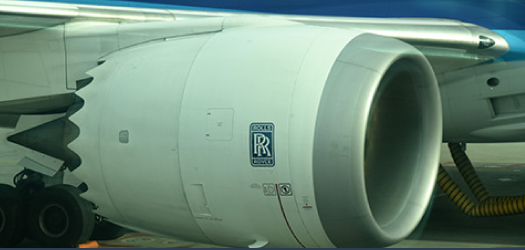
Our Level 3 services include (but are not limited to) the following:
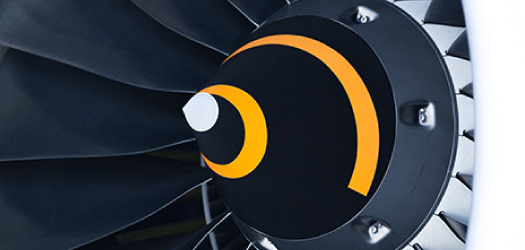
We have recently expanded our services to offer the necessary maintenance tasks to ensure the continuing airworthiness of aircraft or its components, including overhaul, inspection, replacement, repair in line with airworthiness directives.
Our current aviation support capabilities include NDT checks on airplanes. We are certified to provide EASA Part 145 services. We can perform overhauls, repairs, maintenance on wheels and brakes on the Airbus 320 family and Boeing 737 as well as on certain business jets.

We carry out aircraft wheel and brake MRO and supply solutions for the commercial aviation industry. Our modern, clean and well organised workshops feature the latest specialist tooling and equipment. We offer Cost-Per-Aircraft-Landing (CPAL), fixed price per event, labour only, as well as Time & Materials repair pricing models.
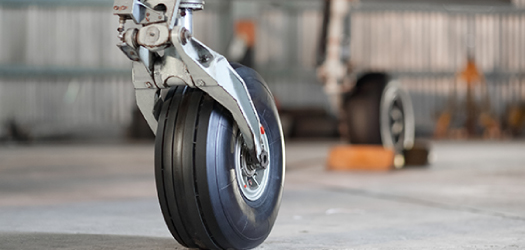
Essential to ensure the safety of the aircraft at the start and end of each flight, wheels and brakes are subjected to tremendous forces. Wheels are likely to suffer corrosion or damage from FOD.
Brakes tend not to break but they do wear. The majority of brake maintenance is overhaul and the replacement of worn components.
Our primary role is to repair and overhaul wheels and brakes to the highest of standards and speed.
